Business
Sudden Low Water Pressure at Home: A Practical Diagnostic Path That Actually Works

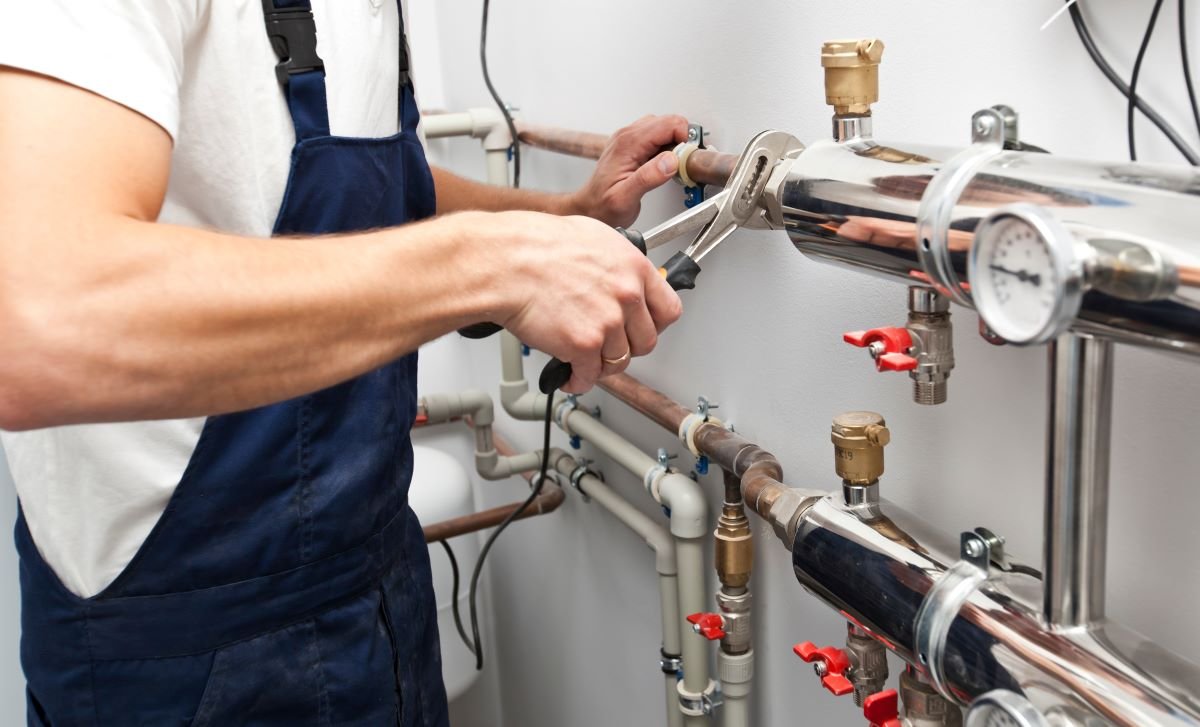
Few household surprises are as frustrating as a shower that turns to a drizzle or a kitchen faucet that trickles when you need it most. Low water pressure can come from a clogged faucet screen, a failing pressure-reducing valve, or something as simple as a half-closed shutoff. Before replacing fixtures or calling for help, a systematic approach can pinpoint the source quickly. This article lays out a clear, step-by-step way to distinguish fixture issues from whole-house problems, measure what is really happening, and decide which fixes are sensible to try and which are better left to a licensed plumber.
- Confirm if it is pressure, flow, or just one fixture
Start by checking multiple fixtures. If only one bathroom sink is weak while the tub next to it is fine, you likely have a fixture-level restriction such as a clogged aerator or a stuck cartridge. If everything is weak, suspect a supply-side issue. Whenever possible, measure with a screw-on pressure gauge at an exterior hose bib. Note the static pressure with all fixtures off, then open a tub and observe the dynamic pressure. If you do not have a gauge or are unsure how to interpret it, many homeowners consult Expert plumbing services to capture baseline readings and avoid guesswork early in the process.
Also try a cross-check: open a cold faucet and then a hot faucet in the same room. If both drop together, the restriction is likely upstream. If cold is strong but hot is weak, the water heater or a hot side control like a thermostatic mixing valve may be involved. Quick comparisons like this narrow the field before any tools come out.
- Rule out simple fixture-level restrictions first
Faucet aerators and showerheads trap grit, Teflon tape slivers, and mineral scale that can throttle flow. Unscrew the aerator, rinse the screen, and soak it in white vinegar to dissolve calcium. If flow improves dramatically with the aerator removed, clean or replace it. Cartridge-style faucets can also plug at the cartridge inlets; removing and flushing the cartridge seats may restore flow. Angle stop valves under sinks sometimes get turned partway during cabinet work or leak repairs, so confirm each stop is fully open. Braided supply lines can kink behind tight vanities; a gentle reroute may fix a surprise bend that is starving the faucet.
Showers add a twist. A worn diverter can leave water trapped instead of sending full flow to the showerhead. Tub spouts with built-in pull-up diverters can fail internally and reduce shower volume even when the showerhead is clean. Testing flow with the showerhead removed helps isolate the cause to the diverter versus the head.
- Investigate whole-house causes on the cold side
When pressure and flow are low throughout the home, turn to the main controls. Verify the main shutoff valve is fully open. Gate valves can lose their internal wedge, leaving them partially closed even when the handle turns freely. Ball valves are more reliable but can be left halfway by accident after a repair. Next, find the pressure reducing valve (PRV), often a bell-shaped device on the main line. PRVs lose spring tension and clog with debris over time, causing sluggish flow and low dynamic pressure. Minor relief can come from adjusting the screw on the PRV, but if turning the screw clockwise yields little change, the unit may need replacement.
If you have a whole-house sediment filter, check the cartridge. A tighter micron rating captures fine silt but can cut flow, especially as the cartridge loads up. The tradeoff is clear: finer filtration means cleaner water at the cost of more frequent changes and potential pressure drop. Flip a water softener to bypass and retest; resin fouling or a clogged venturi can behave like a strainer in the main line. Some meters have inlet screens that clog after utility work, and a stuck backflow preventer or check valve can mimic a partial shutoff. Any work on a meter, curb stop, or backflow assembly should be handled by the utility or a licensed professional, as these are regulated components.
- If the hot side is weak, look at the water heater and mixing
When hot flow is poor but cold is fine, inspect the water heater circuit. Sediment at the tank bottom can choke the hot outlet and rattle during use; flushing the heater can restore flow and extend its service life. A deteriorated dip tube sheds plastic flakes that clog aerators throughout the home and starve hot side volume. Clearing the aerators and replacing a failed dip tube solves the symptom and the cause. Confirm the heater’s outlet isolation valve is fully open; partially closed ball valves are a common oversight after service.
Homes with a thermostatic mixing valve can experience low hot water flow if the valve sticks or scales up. These valves temper scalding water by mixing cold at the outlet; if the cold path inside the valve is restricted, the overall hot flow suffers. Heat trap nipples at the top of the tank include small check inserts to prevent convective losses; if a check sticks, hot flow can collapse. Remember, the temperature and pressure relief (T&P) valve is a safety device and not a flow control. Never cap or substitute it in an attempt to fix pressure.
- Track intermittent drops, hidden leaks, and branch-specific issues
Pressure that is fine one minute and weak the next points to an intermittent restriction. After plumbing work, debris can migrate and temporarily lodge in cartridges and shower valves, then flush clear. Galvanized branch lines corrode from the inside and shed rust flakes that plug the next fixture downstream. In PEX systems, a crimp ring that slipped during installation can create a bottleneck years later, showing up as one chronically weak bathroom even while the rest of the house is strong.
Low pressure can also be a symptom of a leak on the supply. With all faucets off, check the water meter for movement. Some meters have a small leak indicator that spins with even slow flow. If the meter moves with everything off, you may have a hidden slab leak or a running toilet. Fixing the leak often restores normal dynamic pressure because the system is no longer bleeding flow on the way to your fixtures.
Measure, document, and prevent a repeat
Once flow is restored, capture baseline numbers so the next diagnosis takes minutes, not hours. Record static pressure at an exterior hose bib and note the dynamic pressure drop with a tub running. Label the main shutoff, PRV, and key isolation valves so family members can return them to the correct positions after a repair. If a PRV was adjusted or replaced, consider adding or checking a thermal expansion tank on the cold side of the water heater; closed plumbing systems need a place for heated water to expand, or pressure will fluctuate and stress valves.
Annual maintenance helps prevent surprises: clean aerators, exercise angle stops so they do not seize, flush the water heater to reduce sediment, and change whole house filter cartridges before they load up. Keep a simple pressure gauge in the toolbox so you can separate perception from measurement quickly. When the diagnosis points to regulated components, gas-fired appliances, or work near the meter, bringing in a licensed plumber is the prudent next step. A deliberate process today saves fixtures, avoids unnecessary parts swaps, and keeps showers and sinks running the way they should.


Who Is Sherry Aon? The Untold Story Behind Rick Gonzalez’s Wife

Who Is Krista Visentin? A Closer Look at the Amazing Life of David Visentin’s Wife

How to Prepare Your Travel Declaration Before Visiting Another Country

Who Is Aliza Barber? The Remarkable Life of Lance Barber’s Wife

Who Is Korina Harrison? The Truth Behind Corey Harrison’s Ex-Wife

Who Is Elizabeth Bateman? The Remarkable Journey of Elizabeth Bateman

Who Is Tanja Rosner? The Untold Life Story of Tate McRae’s Mother

Who Is Jaisal Andrews? Inside the Life of Naveen Andrews’ Son

Who Is Saffron Le Bon? The Untold Life Story of Benjamin Compston’s Wife

Who Is Kerri Browitt Caviezel? The Inspiring Life Story of Jim Caviezel’s Wife

What Is OpenSkyNews and Who Are Its Two Co-Founders?

Who Is Otelia Cox? The Remarkable Life Story of Tony Cox’s Wife
-
 Celebrity3 months ago
Who Is Tanja Rosner? The Untold Life Story of Tate McRae’s Mother
-
 Celebrity3 months ago
Who Is Jaisal Andrews? Inside the Life of Naveen Andrews’ Son
-
 Celebrity3 months ago
Who Is Saffron Le Bon? The Untold Life Story of Benjamin Compston’s Wife
-
 Celebrity3 months ago
Who Is Kerri Browitt Caviezel? The Inspiring Life Story of Jim Caviezel’s Wife
-
 Entertainment2 months ago
What Is OpenSkyNews and Who Are Its Two Co-Founders?
-
 Celebrity3 months ago
Who Is Otelia Cox? The Remarkable Life Story of Tony Cox’s Wife
-

 Celebrity3 months ago
Who Is Sue Johnston? The Remarkable Life Story of Joel Palmentor’s Mother
-

 Software2 months ago
Voozon.com Explained: What It Really Is Behind the “Knowledge Platform” Label