Lifestyle
Why Adding Attic Insulation Alone Won’t Fix a Hot, Drafty House: How to Find the Real Leaks

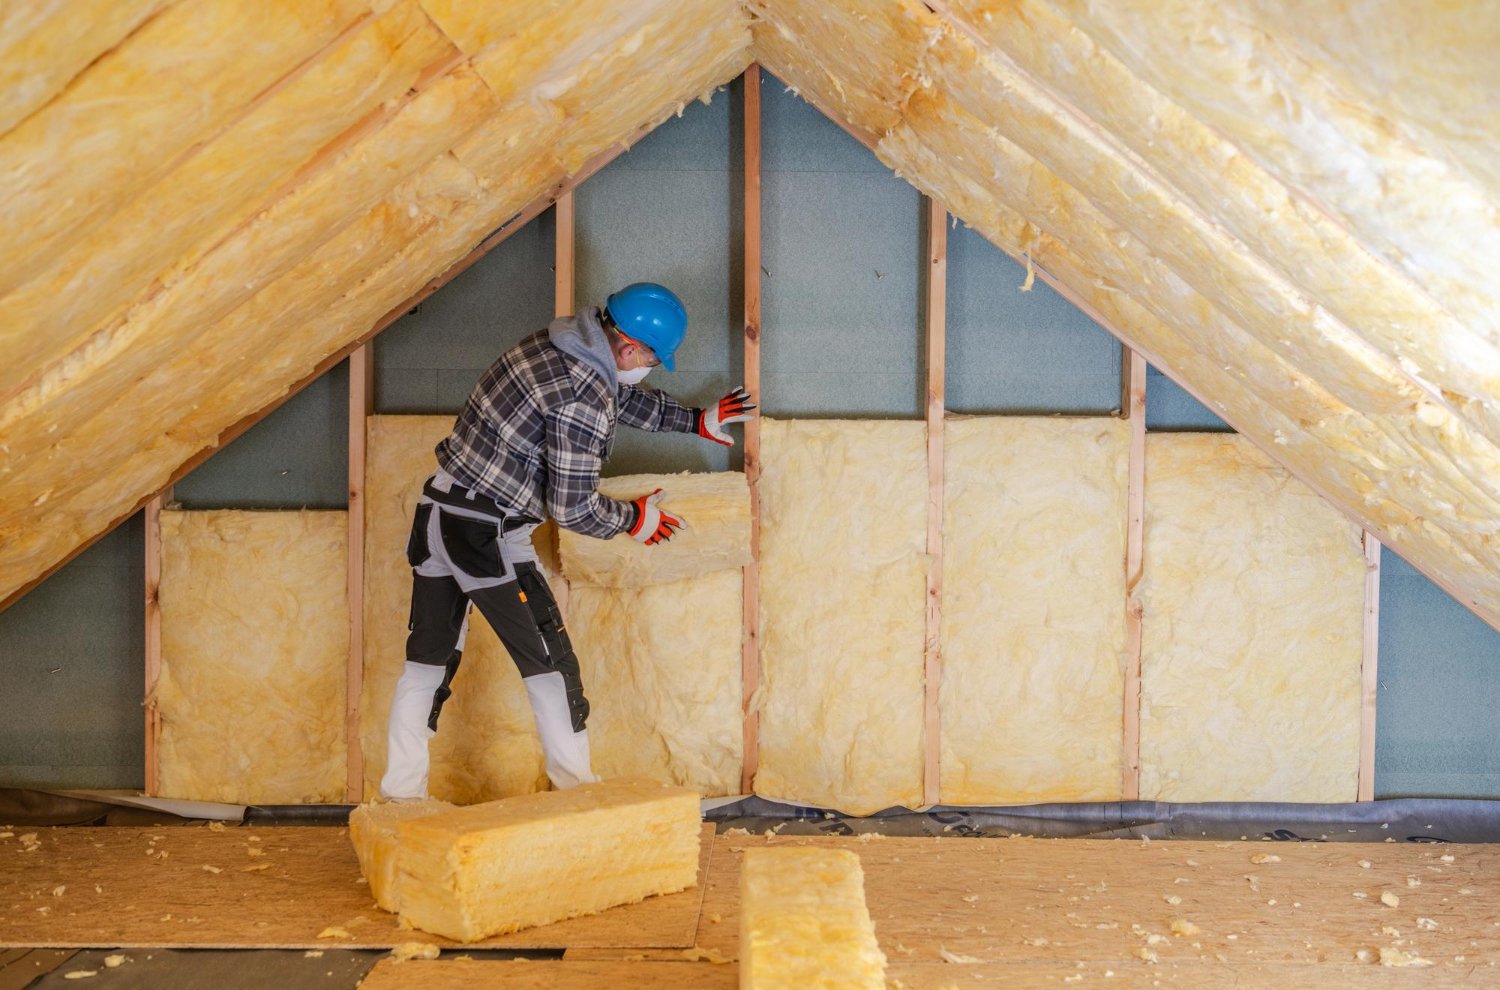
Many homeowners pile more insulation into the attic and still end up with rooms that are sweltering in summer, chilly in winter, and drafty year-round. The reason is simple but easy to miss: heat moves with air. If the attic has hidden gaps around wiring, ducts, and framing, warm or cool air slips through those openings and bypasses even thick layers of insulation. The result is poor comfort, high energy bills, and sometimes moisture problems that show up as musty odors or stains on the roof deck. Before anyone reaches for another bag of blown-in fill, it pays to diagnose where air is actually escaping and how the attic is ventilated, then seal the leaks driving the discomfort.
- Early clues your attic is leaking air, not just losing heat
You do not need specialized equipment to spot telltale signs of air leakage. Look for dusty streaks in loose fill insulation that trace a path from electrical boxes, recessed can lights, or along top plates; the dirt shows where air has been filtering through. Drafts at the attic hatch, uneven temperatures between floors, and blackened fiberglass around chases or plumbing stacks also point to convective bypasses. In cold climates, ice dams and frost under the roof sheathing hint that warm indoor air is reaching the deck. In hot climates, rooms beneath attic knee walls often overheat when gaps let attic air wash behind the drywall. Local insulation contractors, such as First Defense Insulation, can confirm these clues with a blower door or infrared camera. Still, you can learn a lot just by observing where dust, drafts, and temperature swings line up.
- Why air sealing comes before R value in a vented attic
Insulation slows conductive heat flow, but it doesn’t stop air movement unless paired with an effective air barrier. The stack effect pulls warm air up through openings in winter and pushes hot attic air down through those same paths in summer. Gaps at top plates, around bath fan housings, and along flue chases act like chimneys, moving heat right past fluffy materials. That is why air sealing with caulk and foam at penetrations, building rigid covers over big chases, and weatherstripping the attic hatch deliver outsized comfort gains before adding a single extra inch of R value. A common mistake is burying problems under more insulation: blowing material over open soffit vents, covering non-IC, non-IC-rated lights, or packing fiberglass tight against a hot metal flue can create fire and moisture risks while still leaving leaks unaddressed. The correct sequence is seal first, protect ventilation with baffles, then top up insulation.
- Safe, useful ways to evaluate your attic before work begins
Start by mapping airflow paths and ventilation. Verify that soffit vents are present and clear, then check for a continuous ridge vent or gable vents that allow exhaust. Install rafter baffles at the eaves where insulation meets the deck soffit so intake air can move freely. Note any atmospheric vented appliances, metal flues, or chimneys that require code clearances, and keep at least a few inches of space free of insulation and foam around them. Identify old wiring, such as knob and tube, and plan to have it evaluated before burying it. Photograph top plates, electrical penetrations, and plumbing stacks to guide targeted sealing. If testing is available, a blower door combined with an infrared camera can reveal warm or cool streaks at the attic plane during winter, pinpointing leaks around can lights, the attic hatch, and stair pull-down.
- Fixes that stop the leaks at their source
Use fire-rated or UL-rated materials for attic lights, and foam gaskets or sealant for wire and pipe penetrations. Cap large open chases with rigid foam or drywall fastened to framing and sealed at the edges. Weatherstrip and insulate the attic hatch or pull-down tight-fitting leaky duct seams with mastic, not tape, and wrap exposed ducts with insulation to minimize thermal losses. Extend bath fan ducts to the exterior with a proper hood and damper, and insulate the duct to reduce condensation. Add rafter baffles at every soffit bay before blowing insulation so air can wash the roof deck instead of disappearing into the eaves. For knee walls, sheath the attic side with rigid foam or foam board, tape the seams, then tape the entire area to create a continuous air barrier. Consider a realistic scenario: a 1950s bungalow with open balloon framing often needs rigid covers over those chases and careful top-plate sealing before adding new insulation.
Picking insulation to support your air barrier
Once you seal leaks, choose insulation that complements your assembly. Blown-in cellulose fills irregular spaces and lightly reduces air movement through its density, making it a strong choice over a sealed attic floor; blown fiberglass also performs well when installed to the correct depth without wind washing at eaves. Mineral wool batts can be effective on knee walls when paired with a continuous rigid layer on the attic side. In homes with HVAC equipment and ductwork in a sweltering attic, converting to an unvented, conditioned attic by spraying foam on the roof deck can cut duct losses and tame extreme attic temperatures, though it costs. However, nd changes ventilation requirements. That trade-off is worth considering in a second scenario: a 1990s two-story with an attic or garage often benefits from roof deck spray foam or a hybrid approach that tightens the roofline and stabilizes temperature. Radiant barriers can reduce radiant heat gain in hot climates but do not replace air sealing or sufficient R value.
A successful upgrade follows a simple logic: seal, then insulate, and keep ventilation working as designed. Addressing top plates, chases, can lights, and the attic access cuts the biggest leaks that undermine comfort and efficiency. Protect soffit intakes with baffles before adding depth, and match materials to how your attic is built and used. After the work, watch for moisture cues around bath fans and roof nails, confirm the hatch stays tight, and keep soffit vents clear. With the leaks shut and the right insulation in place, your home’s temperature should even out, drafts will drop, and your HVAC system will not have to fight the attic on every hot or cold day.


Who Is Jefferson Salvini Randall? The Amazing Life Story of Tony Randall’s Son

Who Is Melissa Esplana? The Amazing Life Story of Dusty Baker’s Wife

AdsTotally.com Explained: Ad-Network Name, Guest-Post Reality

The Importance of Sun Protection in Children’s Swimwear

BlessingTide.com Explained: From Faith Content to General Interest

Who Is Riley Mandel? The Inspiring Journey of Howie Mandel’s Daughter

Who Is Jaisal Andrews? Inside the Life of Naveen Andrews’ Son

Who Is Saffron Le Bon? The Untold Life Story of Benjamin Compston’s Wife

Who Is Tanja Rosner? The Untold Life Story of Tate McRae’s Mother

Voozon.com Explained: What It Really Is Behind the “Knowledge Platform” Label

Who Is Sue Johnston? The Remarkable Life Story of Joel Palmentor’s Mother

Who Is Kerri Browitt Caviezel? The Inspiring Life Story of Jim Caviezel’s Wife
-
 Celebrity2 months ago
Who Is Jaisal Andrews? Inside the Life of Naveen Andrews’ Son
-
 Celebrity2 months ago
Who Is Saffron Le Bon? The Untold Life Story of Benjamin Compston’s Wife
-
 Celebrity2 months ago
Who Is Tanja Rosner? The Untold Life Story of Tate McRae’s Mother
-
 Software3 weeks ago
Voozon.com Explained: What It Really Is Behind the “Knowledge Platform” Label
-
 Celebrity2 months ago
Who Is Sue Johnston? The Remarkable Life Story of Joel Palmentor’s Mother
-
 Celebrity2 months ago
Who Is Kerri Browitt Caviezel? The Inspiring Life Story of Jim Caviezel’s Wife
-

 Celebrity1 month ago
Who Is Otelia Cox? The Remarkable Life Story of Tony Cox’s Wife
-

 Technology1 month ago
TheSindi Com Explained: What to Verify Before Trusting This Site